web chat
🚀 Introduction
Want to experience AI on your personal computer without needing an internet connection? Try Open WebUI, an intuitive interface that makes it easy to run Deepseek with Ollama. In this guide, we’ll set up the environment and deploy Open WebUI in just a few simple steps!
🔧 Required Tools:
- Ollama: Manages and runs AI models.
- Deepseek: A powerful language model for various tasks.
- UV: A runtime manager for setting up the Python environment.
- Open WebUI: A user-friendly interface to interact with AI.
📌 Installation Steps
1️⃣ Install Ollama
First, we need to install Ollama to manage the Deepseek model:
curl -fsSL https://ollama.com/install.sh | sh
🔹 Check the version after installation:
ollama --version
2️⃣ Download the Deepseek Model
Choose the appropriate version and download it using:
ollama pull deepseek-r1:Xb
📌 Note: Replace
Xbwith the model version you want to use.
3️⃣ Install UV
UV helps efficiently manage the Python environment.
📌 On macOS/Linux:
curl -LsSf https://astral.sh/uv/install.sh | sh
📌 On Windows:
powershell -ExecutionPolicy ByPass -c "irm https://astral.sh/uv/install.ps1 | iex"
4️⃣ Create a Virtual Environment with UV
We need a virtual environment to run Open WebUI.
📌 On macOS/Linux:
mkdir ~/Documents/openwebui && cd ~/Documents/openwebui && uv venv --python 3.11
📌 On Windows:
mkdir ~/Documents/openwebui
cd ~/Documents/openwebui
uv venv --python 3.11
🔹 Python 3.11 is recommended for optimal performance!
5️⃣ Install Open WebUI
After setting up the virtual environment, install Open WebUI:
cd ~/Documents/openwebui && uv pip install open-webui
📌 On Windows:
cd ~/Documents/openwebui && uv pip install open-webui
6️⃣ Start Open WebUI
Now, let’s start Open WebUI and interact with your AI model!
📌 On macOS/Linux:
DATA_DIR=~/.open-webui uv run open-webui serve
📌 On Windows:
$env:DATA_DIR="C:\open-webui\data"; uv run open-webui serve
🔹 Setting
DATA_DIRhelps store data persistently.
7️⃣ Fix Timeout Issues (if any)
If you encounter timeout errors while running the model, try increasing the timeout duration:
📌 On macOS/Linux:
AIOHTTP_CLIENT_TIMEOUT_OPENAI_MODEL_LIST=5 DATA_DIR=~/.open-webui uv run open-webui serve
📌 On Windows:
$env:AIOHTTP_CLIENT_TIMEOUT_OPENAI_MODEL_LIST=5; $env:DATA_DIR="C:\open-webui\data"; uv run open-webui serve
8️⃣ Access Open WebUI
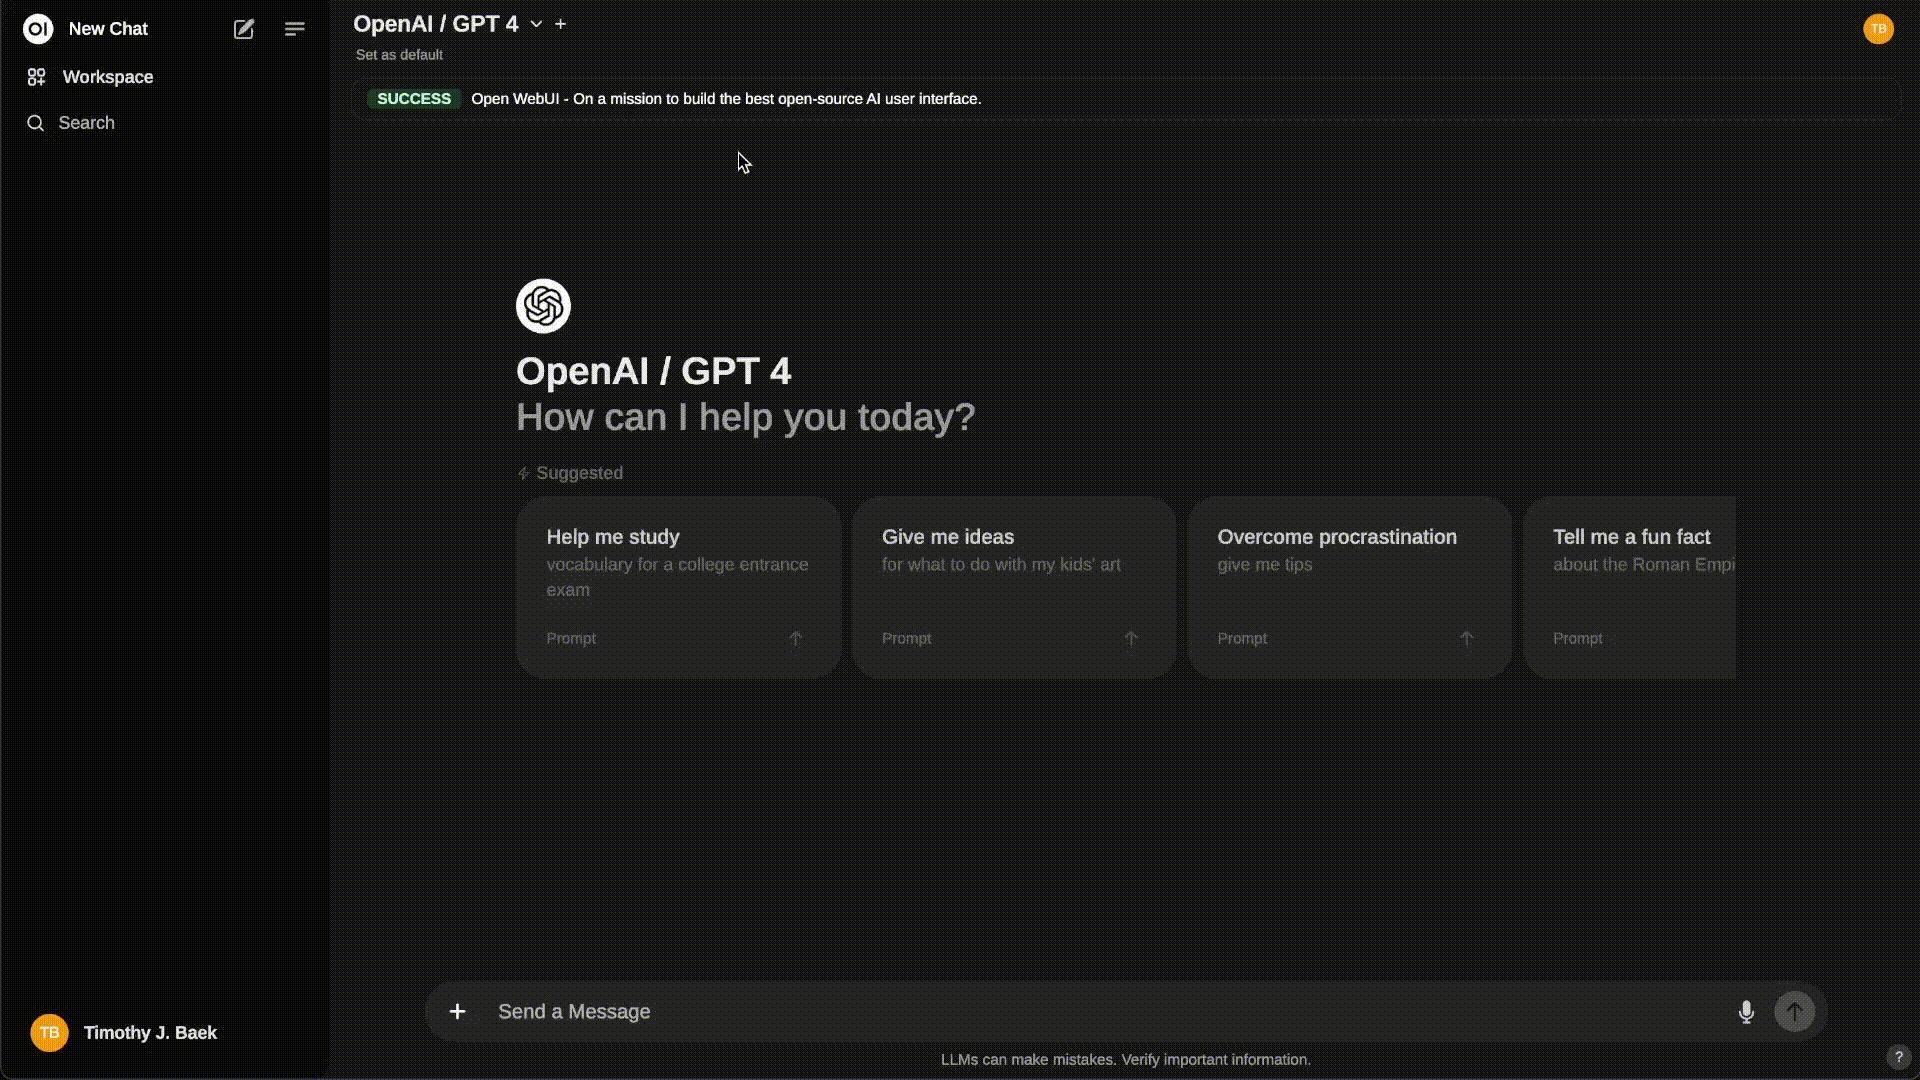
Once successfully launched, Open WebUI will display an access URL:
http://localhost:8080
Open your browser and visit the above address to start exploring AI instantly! 🚀
🔥 Important Notes for Offline Use
✅ Download models before losing internet access: Ensure all required AI models are pre-downloaded.
✅ Run Open WebUI without internet: Once set up, Open WebUI can operate completely offline.
✅ API Integration: Open WebUI supports API functionalities with security options like JWT and API keys.